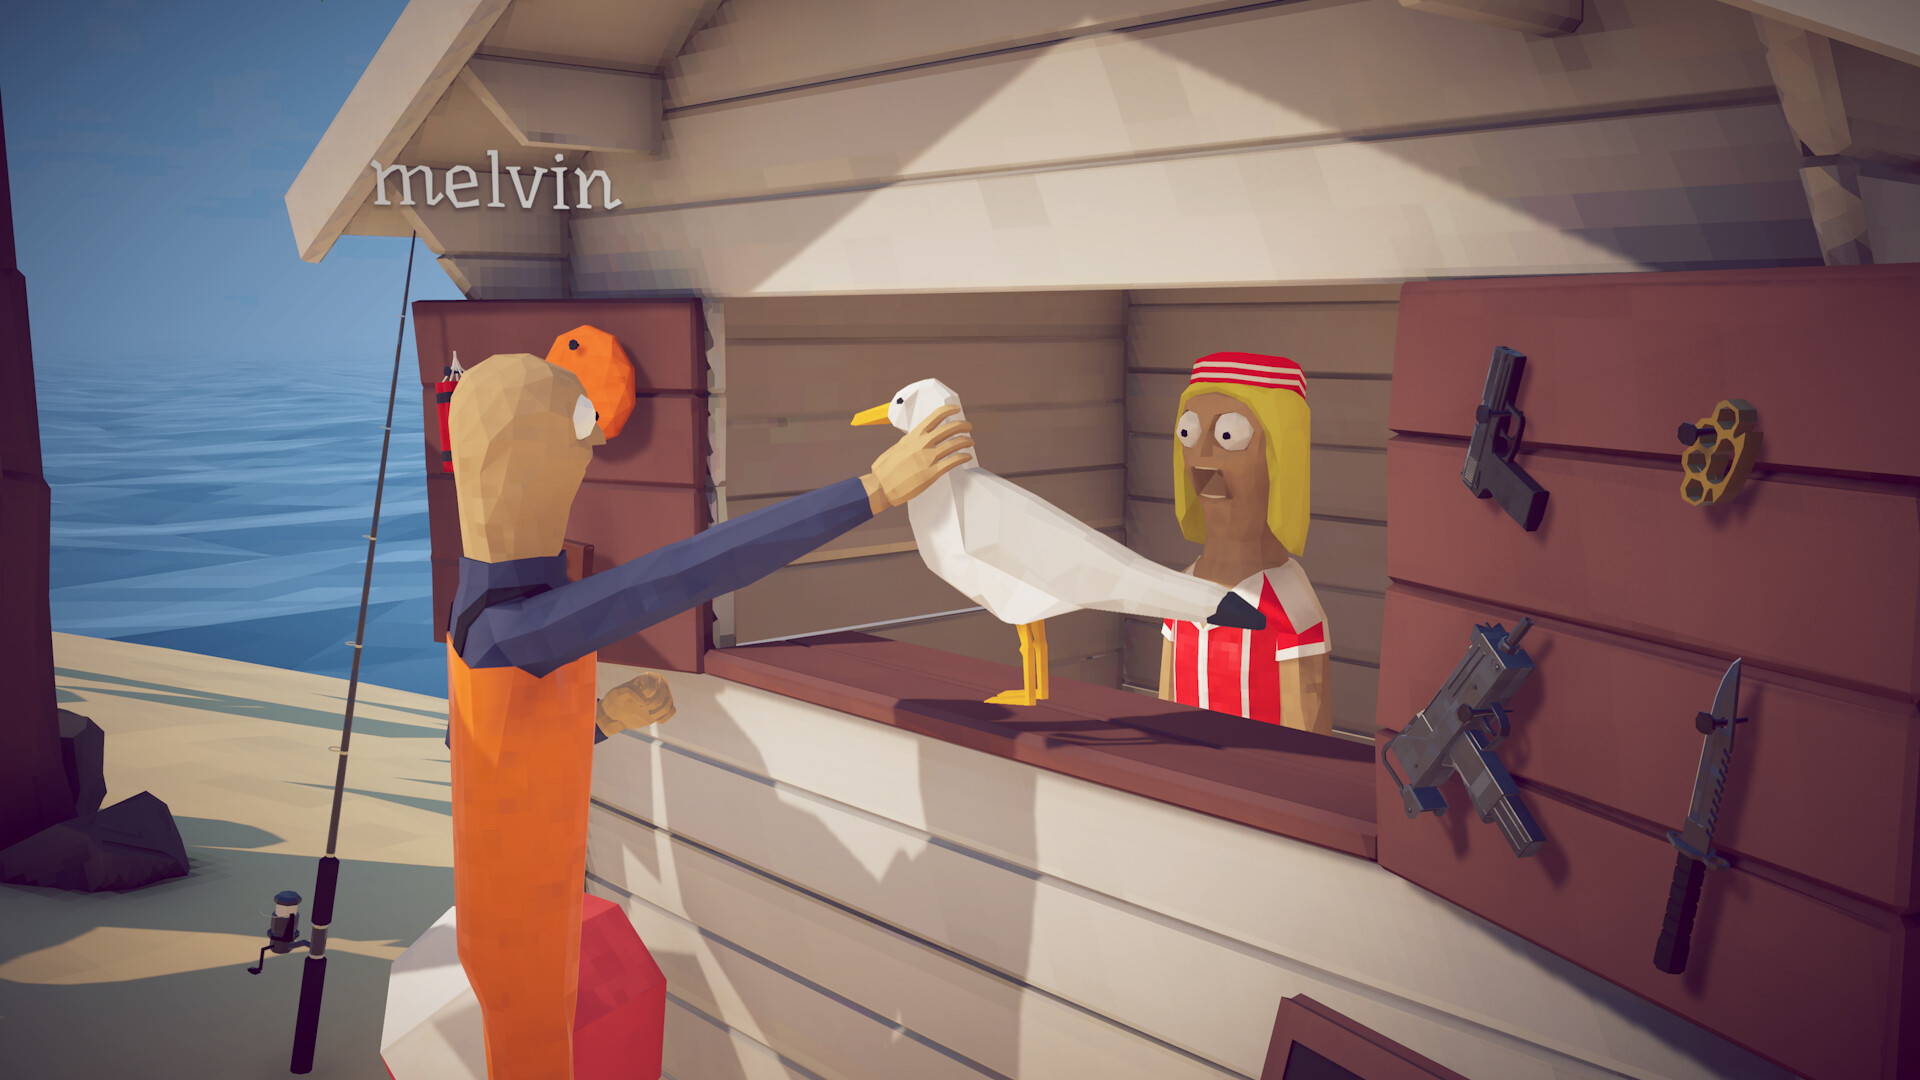
How to Fish Equipment - Rods, Bait & Weapons
Rods, bait and weapons in the How to Fish game: which lure catches what on each island, which rod you actually need, and which weapon purchases pay for themselves fastest.
Published August 26, 2026 · Last updated September 21, 2026
Quick Answer: What Equipment Do You Actually Need?
Fish distribution in How to Fish is decided by island x bait tier, so bait is the real progression gate — not rods. Only two rods exist and most islands need just the standard Fishing Rod. Weapons follow a fixed buy order: Radar ($10) first, then Dynamite ($25), then the Shotgun (about $150) on Island 2.
| Island | Rod | Bait |
|---|---|---|
| Lighthouse (start) | Crab Fishing Rod | Free Lure, Hot Dog |
| Island 2 (Forest) | Fishing Rod | Free Lure, Beginner Lure, Hot Dog |
| Island 3 (Desert) | Fishing Rod | Standard Lure |
| Island 4 (Rocky) | Fishing Rod | Professional Lure |
| Island 5 (Volcano) | Fishing Rod | Scientific Lure |
Island
Lighthouse (start)
Rod
Crab Fishing Rod
Bait
Free Lure, Hot Dog
Island
Island 2 (Forest)
Rod
Fishing Rod
Bait
Free Lure, Beginner Lure, Hot Dog
Island
Island 3 (Desert)
Rod
Fishing Rod
Bait
Standard Lure
Island
Island 4 (Rocky)
Rod
Fishing Rod
Bait
Professional Lure
Island
Island 5 (Volcano)
Rod
Fishing Rod
Bait
Scientific Lure
💡 Each island's local store sells the matching bait tier — buying locally is the fastest way to avoid an empty hook. Bosses ignore this rule and need their own special bait.
Rods: Two Rods, One Real Choice
The Crab Fishing Rod only matters on the Lighthouse, plus one exception on Island 2 (Piranha with a Hot Dog). From Island 2 onward the standard Fishing Rod handles all regular fishing — the bait tier does the heavy lifting.
- Crab Fishing Rod — required for all Lighthouse fishing; on Island 2 only the Piranha needs it (paired with a Hot Dog).
- Fishing Rod (standard) — every regular catch from Island 2 through the Volcano.
Bait: Ordinary Lures Are Bought, Boss Lures Are Earned
Ordinary lures are purchased in the store; special boss lures are mostly quest rewards and cannot be bought. The correct lure must be used to summon the corresponding boss — a store lure will never summon the Giant Piranha.
- Quest-only baits: Empty Beer Can (Spider Crab), Modified Leech (Giant Piranha), Carrot (Pufferfish), Fish Bucket (Bowhead Whale).
- Purchasable boss lures: Beginner/Standard/Professional/Scientific Boss Lure at the matching island store.
- Scientific Lure (about $500) covers the volcanic zone; Standard Boss Lure (about $280) unlocks the grill via the Blue Shark.
Weapons: The Buy Order That Pays Off
The developer has not published a damage table, so the order below comes from player-tested guides. Buy according to your current bottleneck: melee if close-range fights drag, long-range if bosses reach you while reloading.
| Priority | Item | Estimated price | Why |
|---|---|---|---|
| 1 | Radar | $10 | Navigation; required to unlock new islands |
| 2 | Knife (+ Anvil polish) | about $45 | Early melee and the Spider Crab fight |
| 3 | Dynamite | about $25 | Batch-kill fish and collect fast |
| 4 | Shotgun | about $150 | Strongest early-mid investment, lasts with bullet upgrades |
| 5 | SMG / Uzi | mid-range | Mobile shooting and airborne targets |
| 6 | Assault Rifle + modules | higher | Essential before the final Bowhead Whale fight |
Priority
1
Item
Radar
Estimated price
$10
Why
Navigation; required to unlock new islands
Priority
3
Item
Dynamite
Estimated price
about $25
Why
Batch-kill fish and collect fast
Priority
4
Item
Shotgun
Estimated price
about $150
Why
Strongest early-mid investment, lasts with bullet upgrades
Priority
5
Item
SMG / Uzi
Estimated price
mid-range
Why
Mobile shooting and airborne targets
Priority
6
Item
Assault Rifle + modules
Estimated price
higher
Why
Essential before the final Bowhead Whale fight
💡 Skins from the Reel of Fortune are purely cosmetic — damage comes from ammo upgrades and attachments, so concentrate attachments on one main weapon (the "Fully equipped" achievement requires a single fully-equipped gun).
Equipment Habits Worth Keeping
- Never sell quest loot (Skeleton, Fin, Trophy, etc.) — they gate island progression.
- Defeat the Blue Shark on Island 3 to unlock the grill: cooked fish sells for about 1.5x, covering the pricier Island 4/5 bait.
- Before using a boss lure, stock weapons, healing and upgraded ammunition — the boss appears immediately.